-
Categories

- About
- Contact Us
- FAQs
- Log In
- Retail Store
-
Recently Viewed
You have no recently viewed items.
-
Call Us
Your cart is empty
Looks like you haven't added anything to your cart yet
Detailed Description
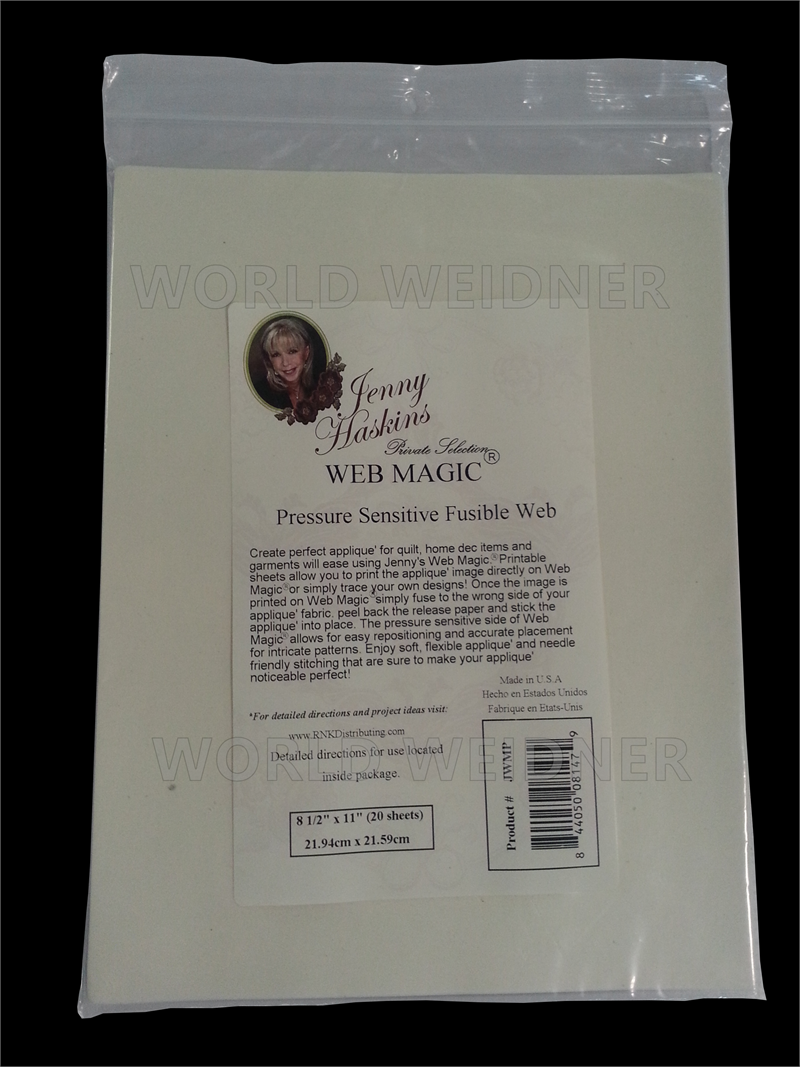
Create perfect applique for quilts, home dec items and garments with ease using Jenny's Web Magic. Printable sheets allow you to print the applique image directly on Web Magic or simply trace your own design! Once the image is printed on Web Magic simply fuse it to the wrong side of your applique fabric, peel back the release paper and stick the applique into place. The pressure sensitive side of Web Magic allows for easy repositioning and accurate placement for intricate patterns. Enjoy soft, flexible appliques and needle friendly stitching that are sure to make your appliques noticeably perfect!
How to use Web Magic:
1. Open your applique embroidery design in your machine software. *Reverse the image
2. Print the image onto the paper side of Web Magic. *Be sure your software and printer are set to print the design in the actual size of the embroidery.
3. Fuse the printed Web Magic to the wrong side of the applique fabric.
4. Trim the applique piece around the outside edge and set aside.
5. Load the embroidery design into your machine and forward to the placement outline stitch.
6. Hoop the base material and stitch the placement outline. Jenny's Web Magic
7. Peel back the release paper from the back of the applique exposing the adhesive.
8. Stick the applique down to the stitched outline.
9. Embroider the remaining colors of the design.
**An alternative to step 1 and 2 is to place the Web Magic in your embroidery frame and stitch the outline! Use a light colored thread but one you can see to trim around. This will also insure that your image will be the exact embroidered size. Once the outline is stitched on the Web Magic remove the piece from the embroidery frame and trim it down, but not too close to the outline, save that for step 4! Continue with step 3.
Traditional Applique using Web Magic:
**Remember that your traced image will be reversed once it is traced onto the paper side of Web Magic. Make adjustments to the original image to prevent this.
**NOTE: All irons heat differently. The iron temperature given above is a starting point. If you find that you are not getting a good fuse, slowly increase your irons temperature until you achieve a good bond.
- Pressure sensitive side makes re-positioning multiple pieces a snap and keeps them from moving when pressing into place!
- Machine washable and dry cleanable.
- Won't gum up machine needles.
How to use Web Magic:
1. Open your applique embroidery design in your machine software. *Reverse the image
2. Print the image onto the paper side of Web Magic. *Be sure your software and printer are set to print the design in the actual size of the embroidery.
3. Fuse the printed Web Magic to the wrong side of the applique fabric.
4. Trim the applique piece around the outside edge and set aside.
5. Load the embroidery design into your machine and forward to the placement outline stitch.
6. Hoop the base material and stitch the placement outline. Jenny's Web Magic
7. Peel back the release paper from the back of the applique exposing the adhesive.
8. Stick the applique down to the stitched outline.
9. Embroider the remaining colors of the design.
**An alternative to step 1 and 2 is to place the Web Magic in your embroidery frame and stitch the outline! Use a light colored thread but one you can see to trim around. This will also insure that your image will be the exact embroidered size. Once the outline is stitched on the Web Magic remove the piece from the embroidery frame and trim it down, but not too close to the outline, save that for step 4! Continue with step 3.
Traditional Applique using Web Magic:
- Trace or print the design to be appliqued onto the protective paper sheet of Web Magic. *Remember to use the "reverse" of the image. Tip! Use a light box or trace at a window for accuracy!
- Trim around the image leaving at least 1/4 inch of Web Magic outside the traced lines.
- Fuse Web Magic to the wrong side of decorative fabric using a medium/high temperature on your iron (No Steam). The fusible side of Web Magic is the soft/shiny side. Hold the iron in place for at least 3 seconds and then flip the piece over and press again on the fabric side.
- After it has cooled, cut out the applique design using the trace lines.
- Peel back the protective sheet to expose the sticky surface.
- Position the applique piece on the garment and press in to place using a medium/high iron temperature. Hold the iron to the applique for at least 3 seconds. *Press on the applique side and the fabric side for maximum bonding.
- Finish by stitching around the applique with a satin or decorative stitch.
**Remember that your traced image will be reversed once it is traced onto the paper side of Web Magic. Make adjustments to the original image to prevent this.
**NOTE: All irons heat differently. The iron temperature given above is a starting point. If you find that you are not getting a good fuse, slowly increase your irons temperature until you achieve a good bond.
Recommended for You
Your Browsing history
- Choosing a selection results in a full page refresh.


